

When it comes to home security, a robust, well-constructed gun safe is an invaluable asset. Many people invest significant amounts in purchasing the right safe but often undervalue the importance of proper installation. One crucial yet frequently overlooked step in the installation process is removing the safe from its pallet. This initial process sets the foundation for the safe’s overall stability and security within your home. In this guide, we will thoroughly explore how to safely and effectively remove your gun safe from its pallet, ensuring a seamless installation experience. Whether you’re a first-time gun safe owner or have years of experience, these tips will help you avoid common pitfalls and provide you with the confidence to handle your safe efficiently.
The process begins the moment your safe is delivered. Typically, gun safes are shipped bolted to wooden pallets for easy transportation and stability. The pallet protects the safe from damage during transportation and ensures that it remains upright. Once delivered, removing the gun safe from the pallet becomes the first significant challenge. With the weight and size of a typical gun safe, this task requires both preparation and caution.
Improper pallet removal can lead to a host of problems, ranging from damage to the safe itself to personal injury. Furthermore, it can compromise the safe’s integrity, which defeats its purpose of providing security. Our goal is to provide you with a detailed, step-by-step guide that not only prioritizes your safety but also ensures the optimal functioning of your gun safe once it is in its final position. Gather your tools, enlist a helping hand if necessary, and let’s dive into the world of gun safe pallet removal.
Gathering Necessary Tools and Preparing the Area
Before diving into the task of removing your gun safe from its pallet, it’s essential to gather the right tools and prepare your workspace. The importance of having a well-organized and thought-out plan cannot be overstated. With everything you need at your fingertips, the process will be smoother, quicker, and far safer.
First, let’s talk tools. You will need the following items:
- Work gloves: These will protect your hands from splinters and the rough surfaces of the pallet and safe.
- Heavy-duty dolly or hand truck: Whether you’re moving the safe into its final position directly after removing it from the pallet or need to transport it a short distance; a dolly will be essential.
- Crowbar or pry bar: To help remove the nails or screws securing the safe to the pallet.
- Socket wrench set: For dealing with any bolts that are securing the safe.
- Furniture sliders or heavy-duty moving blankets: To help shift the safe without damaging your floors.
- Ratchet straps or rope: To secure the safe to the dolly or to assist in lifting.
Next, preparation is crucial. Ensure that the area around the safe is clear of any obstacles. This reduces the risk of tripping or encountering any issues that may obstruct your movement. If the safe needs to be moved through the home, ensure that all doors are wide enough for the safe to pass through and that the path is clear. Inform any household members or neighbors if you require assistance. Lifting and moving a gun safe is rarely a one-person job, and having extra hands can make a significant difference.
Lastly, inspect the pallet and safe before you begin. Look for any visible damage that might complicate the removal process. Ensure that the safe is stable and not at risk of tipping over once the pallet is removed. With all tools at hand and the area prepared, you’re ready to move on to the next stage of the process.
Unbolting the Safe from the Pallet
The first tangible step in removing your gun safe from its pallet is to unbolt it. In most cases, the safe will be secured to the pallet using a combination of bolts and screws. Here’s a step-by-step breakdown of how to unbolt your gun safe safely:
- Identify the Bolts: Start by identifying all the points where the safe is bolted to the pallet. Typically, these bolts are located at the base of the safe.
- Loosen the Bolts: Using a socket wrench set, begin by loosening each bolt. Start with the outer corners and work your way to the center. Loosen all bolts before fully removing them to ensure the safe remains stable during the process.
- Remove the Bolts: Once all bolts are loosened, proceed to remove them one by one. Keep a hand on the safe or have a helper hold it steady to prevent any unexpected shifts in weight.
- Inspect the Safe: After removing the bolts, inspect the safe’s base to ensure it is free from the pallet. If it appears stuck, gently use a pry bar to separate the safe from the pallet.
It’s important to take your time during this step to avoid any damage to the safe or pallet. Keeping the safe stable throughout this process is key to preventing injury and ensuring a smooth removal.
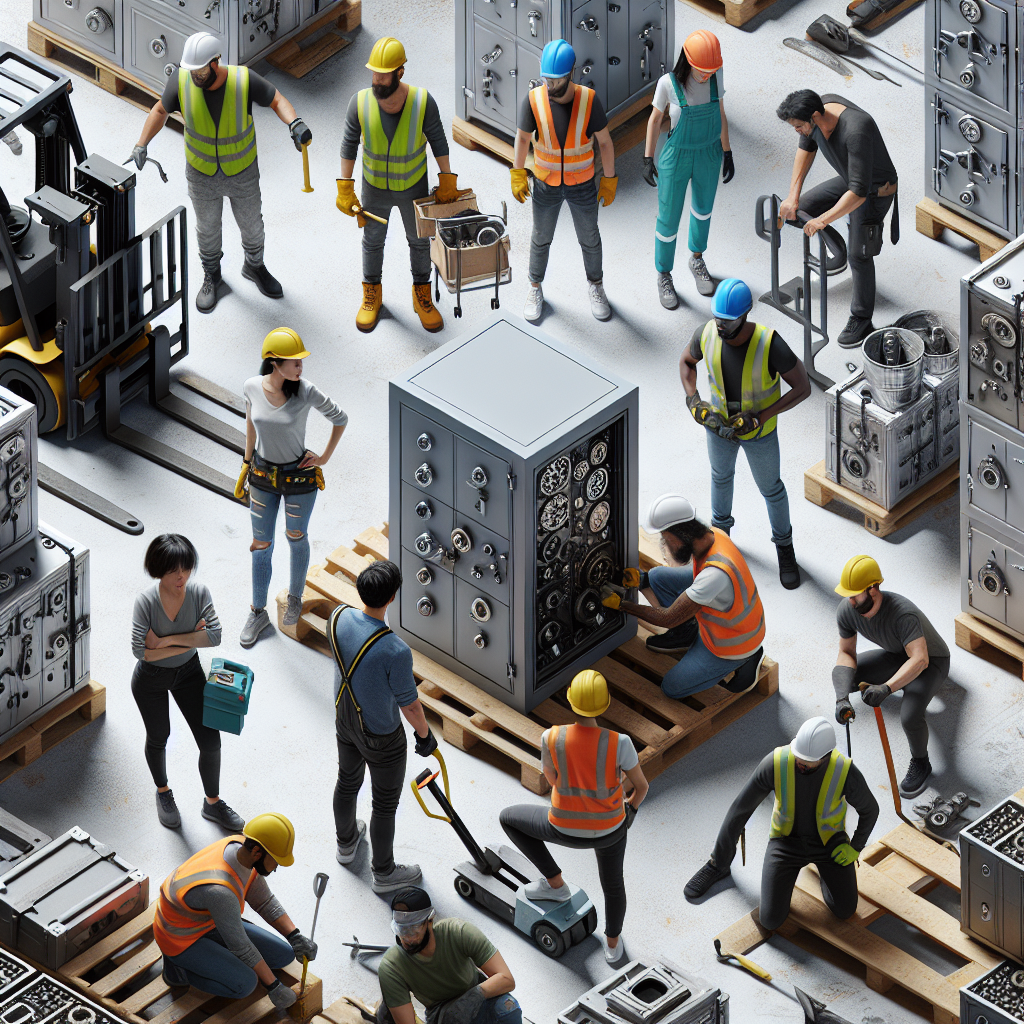
Lifting and Moving the Safe from the Pallet
With the bolts removed, the next step is lifting and moving the safe off the pallet. This stage requires strength, patience, and possibly some extra hands. Here’s how to do it safely:
- Position the Dolly: Carefully slide a heavy-duty dolly under one side of the safe. Make sure the dolly is centered to evenly distribute the weight.
- Secure the Safe: Use ratchet straps or rope to secure the safe to the dolly. This will prevent the safe from slipping off during the move.
- Lift Carefully: With the help of a partner, tilt the safe slightly and begin lifting one side off the pallet. Keep your back straight and lift with your legs to avoid injury.
- Slide the Safe Off the Pallet: Once you have one side lifted, gently slide the pallet out from under the safe. Be cautious and move slowly to maintain control.
- Lower Carefully: Lower the safe onto the dolly in a controlled manner. Ensure that the safe is securely strapped and stable before moving it to its final location.
Remember, the weight and size of gun safes make them challenging to move, so take your time. If possible, enlist experienced movers to help with this step. Safety should always be your top priority.
Positioning the Safe in its Final Location
With the safe off the pallet and on the dolly, the next step is positioning it in its final location. The following tips will help ensure a secure and convenient placement:
- Plan the Route: Before moving the safe, plan the route you will take. Measure doorways and hallways to ensure the safe will fit through them.
- Prepare the Floor: Use furniture sliders or heavy-duty moving blankets to protect your floors from scratches and damage.
- Move Slowly: Move the dolly slowly and steadily, keeping the safe balanced. Avoid sudden movements that could destabilize the load.
- Secure the Safe: Once you have positioned the safe in its final location, remove the dolly and ensure the safe is level and stable. Use shims if necessary to achieve a level position.
- Test the Safe: Open and close the safe door to ensure it operates smoothly. If there are any issues, adjust the positioning as needed.
Proper positioning is crucial for both the safe’s functionality and your convenience. Choose a location that is easily accessible yet discreet to maintain security.
Bolting the Safe to the Floor
Once the gun safe is in its final position, bolting it to the floor is an essential step to enhance security. Follow these steps to securely bolt your safe:
- Mark the Holes: With the safe in its final location, use a marker to indicate where you will drill the bolt holes. Most safes have pre-drilled holes at the base for this purpose.
- Drill the Holes: Using a power drill and an appropriate drill bit, carefully drill into the marked spots. Ensure the holes are deep enough to accommodate the bolts.
- Insert the Bolts: Place the bolts through the pre-drilled holes in the safe and into the floor. Tighten the bolts securely using a socket wrench.
- Check Stability: Once all bolts are tightened, check the stability of the safe. It should be firmly anchored to the floor with no wobbling or movement.
- Final Inspection: Conduct a final inspection to ensure all bolts are secure and the safe is stable. Make any necessary adjustments to achieve the best possible security.
Bolting the safe to the floor adds an extra layer of security, making it significantly more difficult for anyone to remove or tamper with it. This step is critical for protecting your valuables and ensuring peace of mind.
Conclusion
Removing a gun safe from its pallet is a crucial step in the installation process, requiring careful preparation, the right tools, and a step-by-step approach. By following this comprehensive guide, you can ensure the safe and effective removal of your gun safe from its pallet, setting the foundation for secure and reliable home security.
Remember to gather all necessary tools and prepare your workspace before beginning. Take your time unbolting the safe and use proper lifting techniques to avoid injury. Enlist the help of others when needed and always prioritize safety throughout the process. Proper positioning and secure bolting of the safe in its final location are essential for both functionality and security.
By taking these steps, you’ll be well on your way to achieving a successfully installed gun safe that provides the highest level of protection for your firearms and valuables. With careful planning and execution, you can enjoy the peace of mind that comes from knowing your belongings are secure.