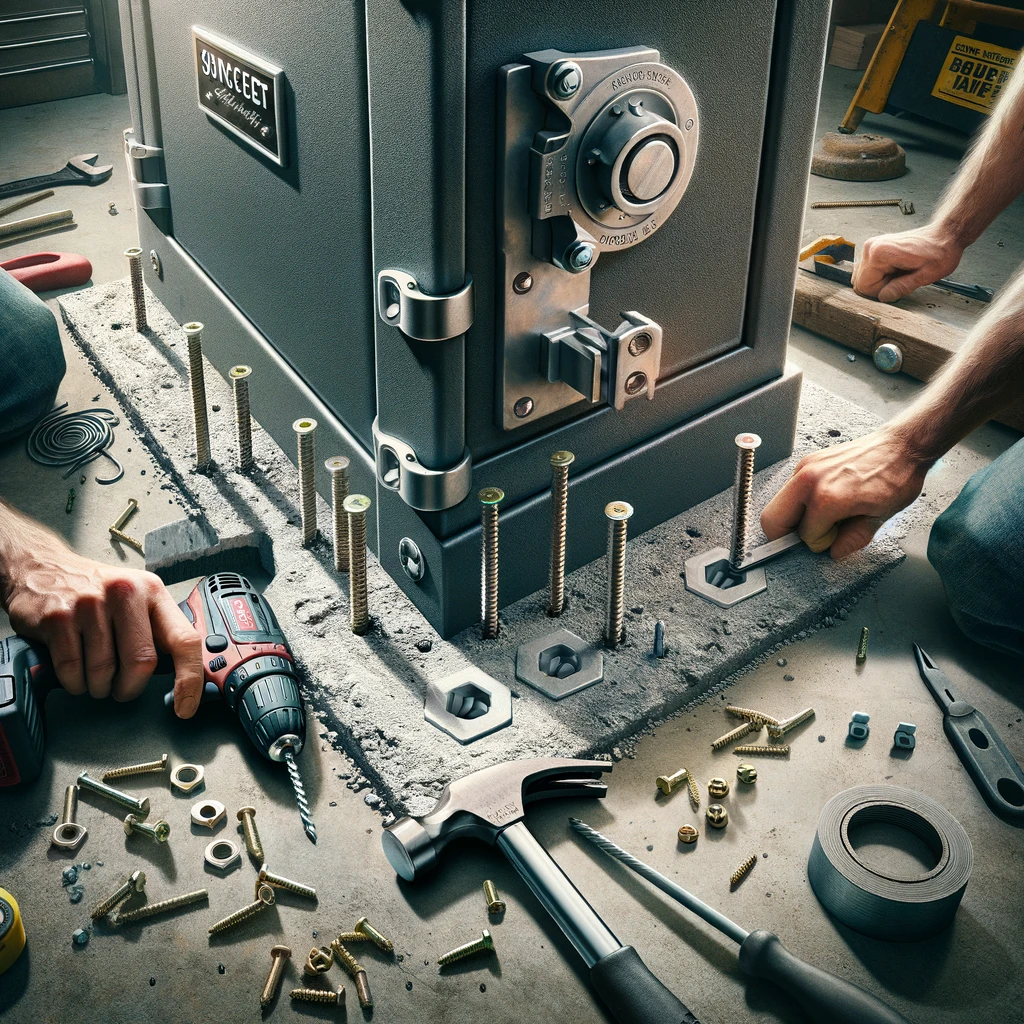
When it comes to setting up a secure environment, whether it’s for storing valuables, firearms, or ensuring the stability of heavy equipment, anchoring to concrete floors is a crucial skill. In this guide, we’ll walk you through a straightforward, step-by-step process to securely anchor objects to concrete floors. No need for fancy jargon – we’ll keep things simple and practical, just like a chat with your handy neighbor.
Step 1: Choosing the Right Anchor
Understanding Anchor Types Before you drill a single hole, it’s essential to pick the right anchor. Generally, anchors fall into two categories: mechanical and adhesive.
- Mechanical Anchors: These include wedge anchors, sleeve anchors, and drop-in anchors. Ideal for heavy-duty applications, they expand to grip the concrete.
- Adhesive Anchors: These anchors involve gluing a threaded rod or rebar into the concrete. They’re great for high-load applications and reduce stress on the concrete.
Selecting the Appropriate Size Size matters. The anchor’s size should correspond to both the object you’re anchoring and the concrete’s thickness. A rule of thumb: the anchor’s length should be at least equal to the thickness of the material you’re fastening, plus a minimum of 1.5 inches embedment into the concrete.
Step 2: Preparing Your Materials
Gather Your Tools You’ll need:
- Hammer drill
- Drill bits (matching the size of your anchors)
- Vacuum or air compressor (for cleaning holes)
- Safety gear (goggles, gloves)
- Anchor and corresponding fasteners
Marking Your Spots Determine and mark where you want to place your anchors. Be strategic – avoid edges and corners where the concrete is more prone to crack.
Step 3: Drilling the Hole
Getting the Depth Right Drill a hole slightly deeper than your anchor’s length. This extra space at the bottom allows for debris accumulation, ensuring a snug fit.
Ensuring Precision Keep your drill at a 90-degree angle to the floor. Precision is key. If your drill bit wanders, you compromise the anchor’s hold.
Step 4: Cleaning the Hole
Remove All Debris Once drilled, thoroughly clean the hole of all dust and debris using a vacuum or air compressor. A clean hole ensures better anchor contact.
Step 5: Inserting the Anchor
For Mechanical Anchors Insert the anchor into the hole. If it’s a wedge anchor, for instance, hammer it gently until it’s flush with the surface. Then, tighten the nut to expand the anchor inside the concrete.
For Adhesive Anchors Fill the hole with the specified adhesive. Then, insert the threaded rod or rebar, twisting slightly to ensure an even distribution of the adhesive. Allow it to cure as per the manufacturer’s instructions.
Step 6: Attaching the Object
Securing the Item Place your object over the anchors and align the holes. Attach the fasteners (nuts or bolts), and tighten them securely. Avoid overtightening, as this may cause the concrete to crack.
Step 7: Final Inspection
Double-Checking Your Work Ensure everything is tight and aligned correctly. Give a gentle tug or apply a bit of pressure to confirm the anchor’s stability.

Additional Tips and Considerations
8. Consider the Environment
Assessing the Surroundings Before drilling, it’s crucial to consider the environment. Check for potential hazards like electrical wiring, plumbing, or anything else that might be hidden beneath the concrete surface. Using a sensor or stud finder can be a lifesaver here.
Moisture and Chemical Exposure If your anchors will be exposed to moisture or chemicals, opt for stainless steel or galvanized anchors to prevent corrosion.
Step 9: Anchoring in Special Situations
Anchoring Near Edges Extra care is needed when anchoring close to the edge of a concrete slab. The general rule is to keep the anchor at least five times the diameter of the anchor away from the edge to prevent cracking.
Anchoring into Cracked Concrete Anchoring into cracked concrete requires special anchors designed for this purpose. These anchors account for the reduced strength and potential expansion of the crack.
Step 10: Maintenance Checks
Regular Inspections Periodically inspect your anchors. Look for signs of movement, rust, or wear. Tighten if necessary, but remember not to overtighten.
Step 11: Avoiding Common Mistakes
Drilling at the Wrong Angle Drilling at an angle other than 90 degrees can weaken the anchoring significantly. Always aim to drill straight down.
Overloading the Anchor Be mindful of the weight and stress you’re putting on the anchor. Overloading can lead to failure.
Step 12: Alternative Anchoring Methods
Expansion Plugs for Lighter Loads For lighter loads, simple expansion plugs may suffice. These are easier to install but less suited for heavy-duty anchoring.
Chemical Anchors for Maximum Strength For the highest load capacities, chemical anchors, while requiring a bit more work in terms of preparation and curing time, offer superior strength and stability.
Step 13: Final Touches
Cosmetic Considerations Once your object is anchored, you might want to consider aesthetic touches. This could include painting over the anchor heads or using caps to cover them for a cleaner look.
Testing the Anchor Finally, do a comprehensive test. Apply a controlled amount of force to ensure everything holds as expected. It’s better to find any weak points now than to discover them later under less controlled conditions.
Conclusion
Anchoring to concrete floors can be an easy and straightforward task when done with the right knowledge and tools. From choosing the right type of anchor to the final checks, each step is crucial for a safe and secure installation. By following this guide, you’re equipped to handle a variety of anchoring projects, ensuring everything you secure stays firmly in place. Remember, patience and precision are your best tools in any anchoring job. Take your time, follow the steps, and you’ll have a rock-solid setup you can trust.
Additional Note: As with any DIY project, safety is paramount. Always wear appropriate safety gear and follow all manufacturer instructions for tools and materials. If you’re ever unsure about a step or your ability to safely complete the task, don’t hesitate to seek help from a professional.

