
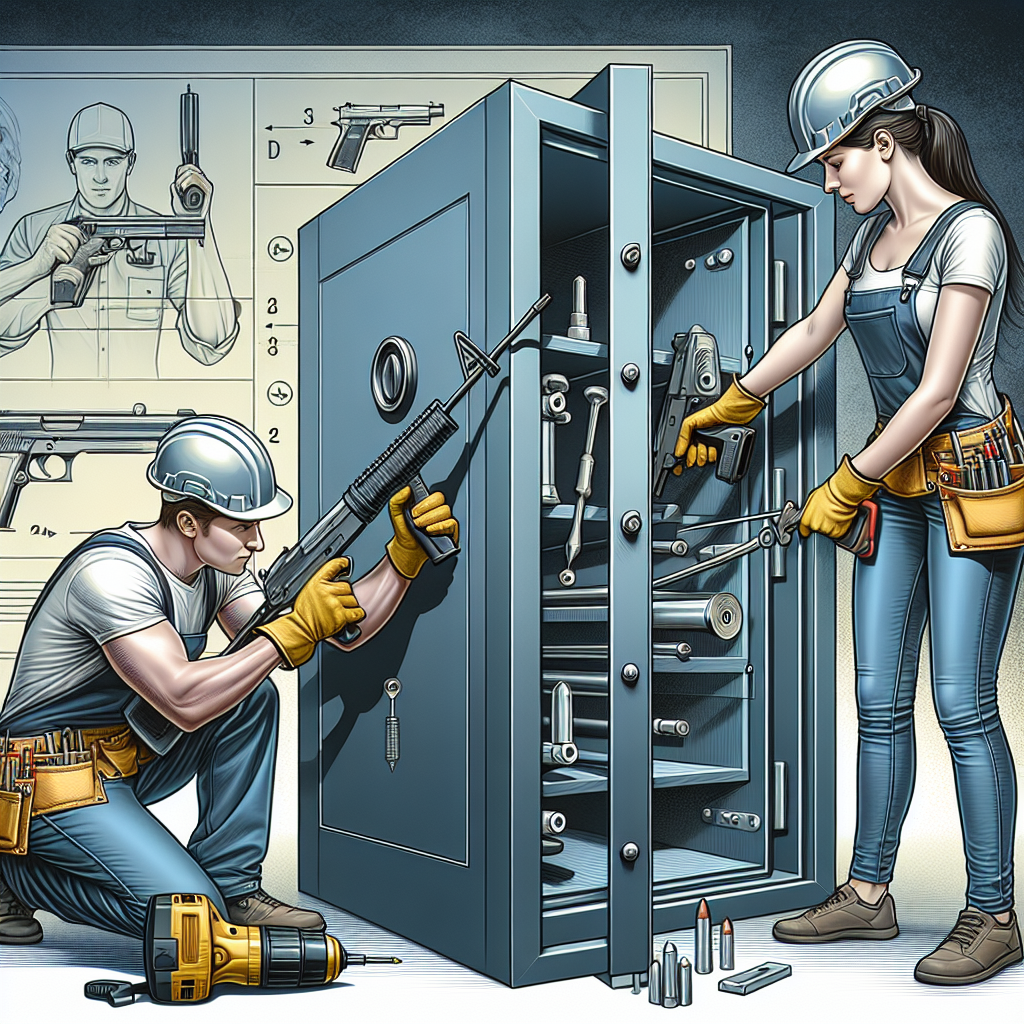
Gun safes are essential for ensuring the security and safety of firearms in homes or facilities. However, their installation can be daunting and potentially lead to unintended damage if not executed correctly. This guide will provide a step-by-step process to help you install your gun safe without causing any harm to your property or the safe itself.
Introduction
When it comes to gun safety, a good quality gun safe is indispensable. It not only protects your firearms from unauthorized access but also safeguards them against theft and damage. However, in the rush of setting it up, many overlook the intricacies involved in installing a gun safe properly. Issues such as floor damage, wall scratches, or even compromising the safe’s integrity are common, especially if individuals are unaware of the appropriate techniques and precautions.
Understanding that a gun safe is a hefty investment, it’s crucial to ensure that it functions as intended without marring the aesthetics or structure of your dwelling. This guide will walk you through preparing your space, maneuvering heavy safes, anchoring methods, and post-installation checks. With careful planning and attention to detail, you can have peace of mind, knowing your firearms are securely stored without any collateral damage.
Proper Site Selection
The first and foremost step in installing a gun safe is selecting the right location. Ensure you’ve earmarked a spot that not only keeps the safe concealed but also allows for smooth installation and anchoring.
1. Accessibility
Choose a location that is easy to access for you. Avoid high-traffic areas where the safe might be a tripping hazard or be easily seen by visitors.
2. Weight Bearing
Safes can be incredibly heavy, especially when loaded with firearms and valuable items. Ensure the floor can handle the weight without sagging or damage. Reinforce the floor if necessary, particularly in older buildings.
3. Avoid Moisture
Moist areas, like basements, can lead to rust and moisture damage to both the safe and its contents. If a basement is your only option, consider using a dehumidifier or a moisture barrier.
4. Wall Placement
Position the safe close to walls to minimize visibility and make it difficult for thieves or unauthorized individuals to manipulate. Also, ensure there is adequate space around it for proper ventilation and access.
Preparing Your Installation Tools
Before moving the safe, gather all tools and materials needed to avoid interruptions. Here is a list of essential items:
1. Gloves and Safety Gear
Heavy-duty gloves protect your hands from cuts and abrasions, while steel-toed boots shield your feet.
2. Measuring Tape and Level
Ensure the safe is installed squarely and level to prevent tipping and ensure ease of access.
3. Plywood and Blankets
Place plywood on floors to distribute the weight and prevent scratching. Moving blankets can be used to protect walls and the safe during maneuvering.
4. Moving Equipment
Dollies, hand trucks, or specialized safe movers are essential for transporting heavy safes without causing back injuries or property damage.
5. Anchoring Kit
Includes bolts, drill, and masonry bits for securing your safe to the floor or wall. Make sure to get a kit that matches your safe model and the type of floor you have (concrete, wood, etc.).
Maneuvering the Safe
Moving a gun safe is one of the trickiest parts of the installation process. Follow these steps to ensure you maneuver the safe correctly:
1. Plan the Route
Clear a path between the entry point and the installation spot. Remove rugs, furniture, and other obstacles.
2. Use Appropriate Moving Equipment
Enlist the help of several people if possible. Use a heavy-duty dolly or hand truck designed to handle the weight of your safe. Secure the safe to the dolly with straps.
3. Protect Flooring and Walls
Lay down plywood sheets or moving blankets along the route to avoid scratches and dents.
4. Maneuver Slowly and Carefully
Take your time, especially when navigating corners and doorways. Ensure the safe remains upright to avoid imbalance and damage.
5. Use Ramps If Necessary
For stairs, consider employing a professional mover, as they have specialized equipment for safely navigating stairs without inflicting damage.
Proper Anchoring Techniques
Once the safe is in position, it’s essential to anchor it securely:
1. Mark the Anchor Points
Mark where the anchor holes will be drilled. Check the instructions to determine the appropriate bolt size and placement.
2. Drill Holes Appropriately
If anchoring to concrete, use a masonry bit to drill the holes. For wooden floors, use a wood drill bit. Ensure the holes are drilled to the appropriate depth.
3. Insert Anchors and Bolts
Use the provided anchors and bolts to secure the safe. Tighten the bolts adequately, but do not overtighten as this can damage the floor and the safe.
4. Check Stability
Ensure the safe is stable and does not wobble. If necessary, use shims to level the safe and prevent tipping.
Post-Installation Checks
Once the safe is anchored, perform the following checks to ensure everything is in order:
1. Door Functionality
Open and close the door several times to ensure it operates smoothly and the locking mechanism functions correctly.
2. Check for Damage
Inspect the surrounding area and the safe for any signs of damage that may have occurred during installation. Repair any noticeable damage promptly.
3. Verify Anchoring
Double-check that all bolts are secure and tight. The safe should not shift or wobble when applied pressure.
4. Install Any Accessories
Install shelving, lighting, or dehumidifiers as needed. Make sure these accessories are securely fitted and do not interfere with the safe’s operation.
Maintenance Tips
After installation, it’s crucial to regularly maintain your gun safe to ensure it remains functional and secure:
1. Regular Cleaning
Clean the exterior and interior of the safe with a damp cloth to remove dust and grime. Avoid using abrasive cleaners that can damage the finish.
2. Check the Humidity
Use a dehumidifier or desiccant to keep the interior dry and prevent rust. Regularly check and replace these as needed.
3. Inspect Locks
Periodically check the locking mechanism for wear and tear. If the lock feels loose or doesn’t operate smoothly, consult a professional locksmith for maintenance.
4. Lubricate Hinges
Apply a small amount of lubricant to the door hinges to ensure smooth operation. Avoid using excessive amounts that can attract dust.
5. Test Alarms and Electronics
If your safe is equipped with electronic locks or alarms, test them regularly to ensure they are functioning correctly. Replace batteries as needed.
Conclusion
Installing a gun safe is a significant step towards ensuring the security and safety of your firearms. By carefully selecting the installation site, preparing the necessary tools, and following proper moving and anchoring techniques, you can avoid potential damage both to your safe and your property. Additionally, regular maintenance can extend the lifespan of your safe and ensure it continues to operate seamlessly.
Taking the time to meticulously plan and execute the installation process not only protects your investment but also offers peace of mind. Remember, when in doubt, seek professional assistance, particularly for moving heavy safes or complicated installations. Ultimately, a well-installed and maintained gun safe is an invaluable asset to any firearm owner, providing both security and convenience.